
🎥 Video: See the full walkthrough at the end of this article.
Prerequisites
-
You’re signed in to the Remitian Dashboard with a role that can create/manage clients (Firm Admin or Accountant).
-
You know the client’s basic info: First name, Last name, Email.
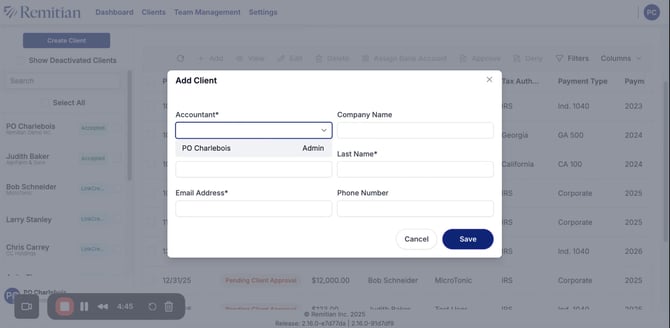
Create a New Client
-
In the left navigation, select Create Client.
-
Choose the Accountant / Client Owner for the new client.
-
Enter the client’s First name, Last name, and Email address.
-
Select Create (or Save) to finish.
-
The client now appears under the Clients tab with the details you entered.
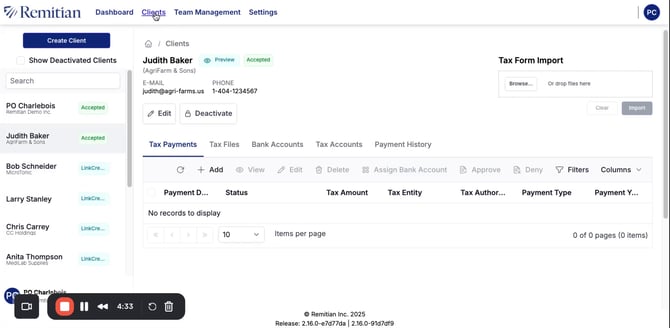
Complete Contact Details & 2FA
-
Open the client’s record from the Clients tab.
-
Add a Phone number if it’s not already present (the client can also add this later).
-
Two‑Factor Authentication (2FA): Remitian supports a six‑digit SMS code to the client’s phone for secure sign‑in.
Edit or Deactivate a Client
-
From the client’s profile, select Edit to update names, email, phone, or owner.
-
If necessary, select Deactivate to disable the client’s access. (Deactivation is reversible by reactivating later; no data is lost.)
Tip: We use Deactivate instead of deleting to preserve audit history and payment records.
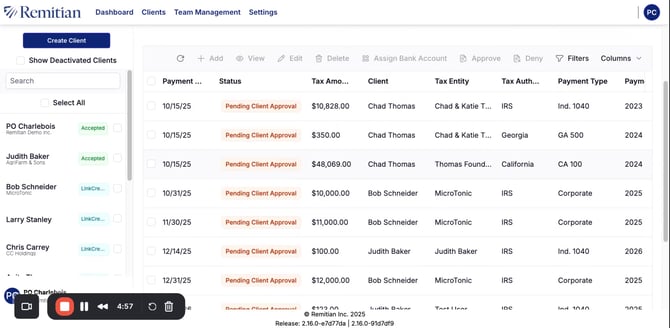
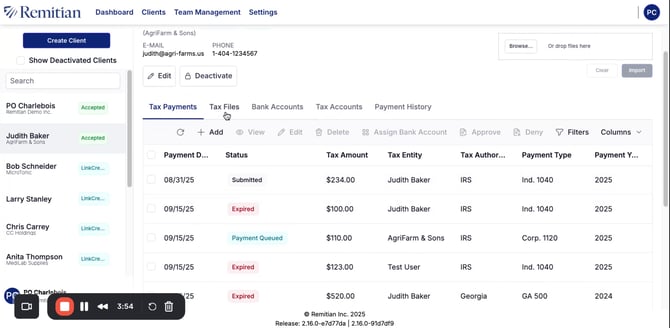
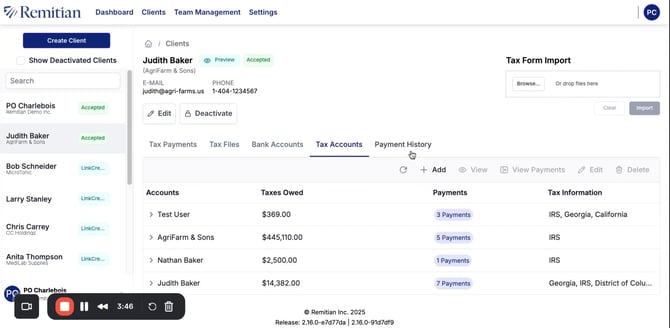
What You Can Manage on a Client Profile
From the client’s profile, you can access:
-
Tax payments – View scheduled and historical tax remittances.
-
Tax files – See documents submitted to the platform.
-
Linked bank accounts – Confirm and manage banking connections.
-
Tax accounts – Review connected revenue agency accounts.
-
Payment history – Audit trail of payments and status changes.
Watch the full walkthrough: