
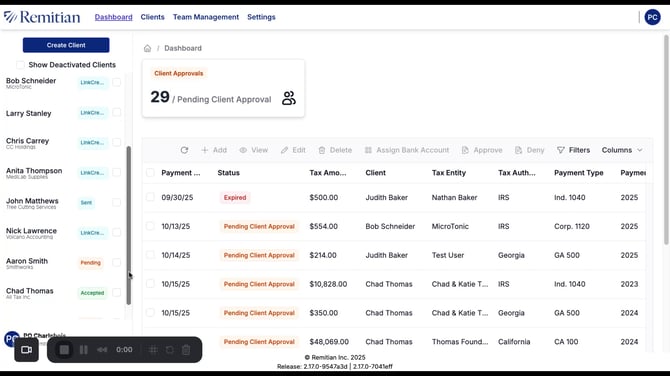
1. Access the Dashboard
From your Remitian Dashboard homepage, navigate to the Clients section.
This is where you can view, manage, and invite clients.
2. Select a Client
Once in the Clients section, you’ll see a list of all clients associated with your account.
Choose the client you wish to send an invitation to.
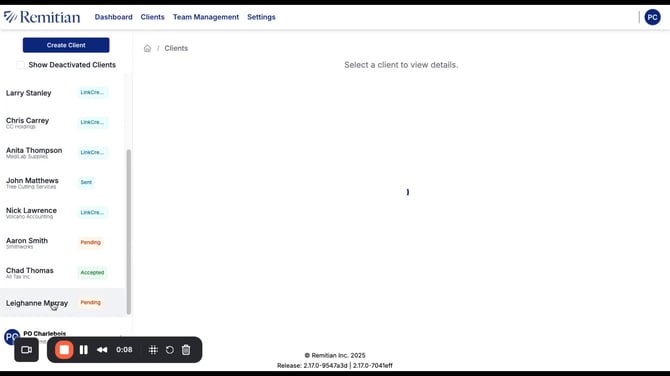
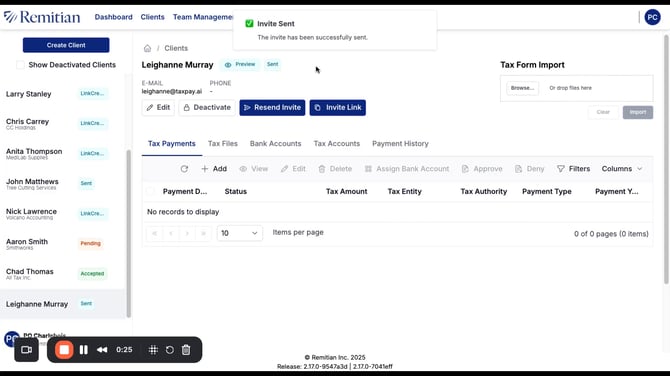
3. Review Client Status
Each client entry shows a status indicator:
-
Pending – The client has not yet received an invitation.
- Sent – The client was sent an invitation.
- Link Created – An invite link for the client was created.
- Revoked – The client's access is revoked from Remitian.
-
Accepted – The client has accepted and connected.
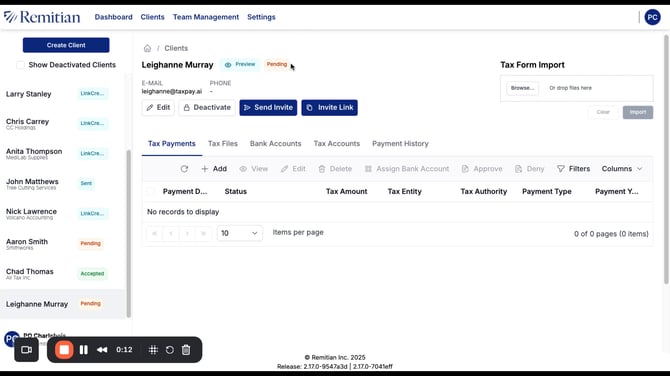
4. Send the Invitation
For clients marked as Pending, click Send Invite to initiate the invitation process.
An email will be automatically sent to the client with a secure link to connect their account.
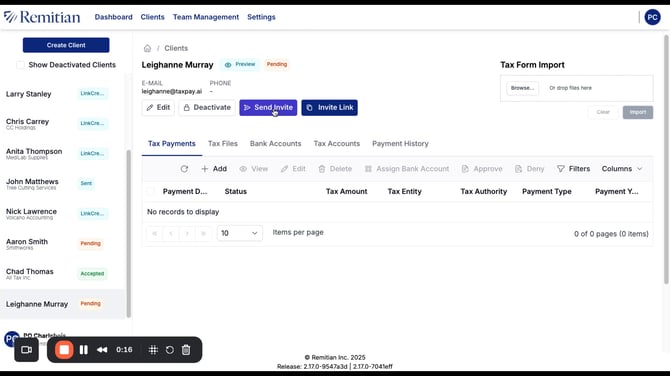
5. Confirm Invitation Sent
Once sent, the system will confirm the action. You can monitor the status update in real-time on the dashboard as the client responds to the invitation.
✅ Tips:
-
Ensure client emails are correct before sending.
-
You can resend an invitation if the client has not responded after a few days.
-
Use filters in the Clients tab to sort by status for easier management.